Overview
The Studio Mod 360 punchcard knitting machine is one of the later models of punchcard knitting machine. The punchcards are used to represent the pattern that the machine will knit.
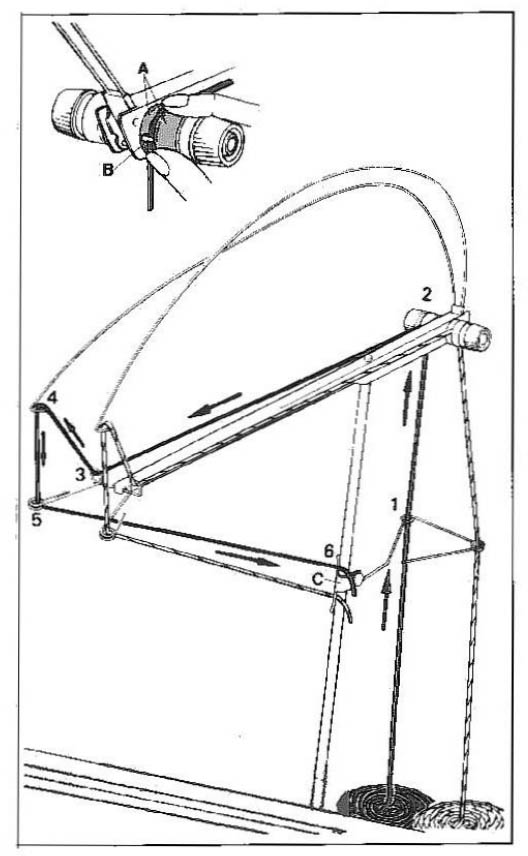
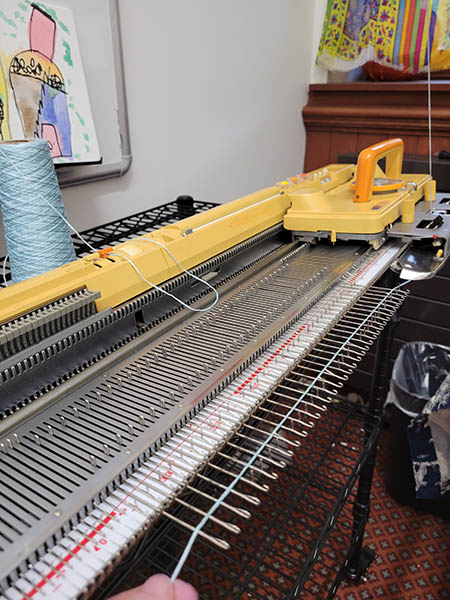
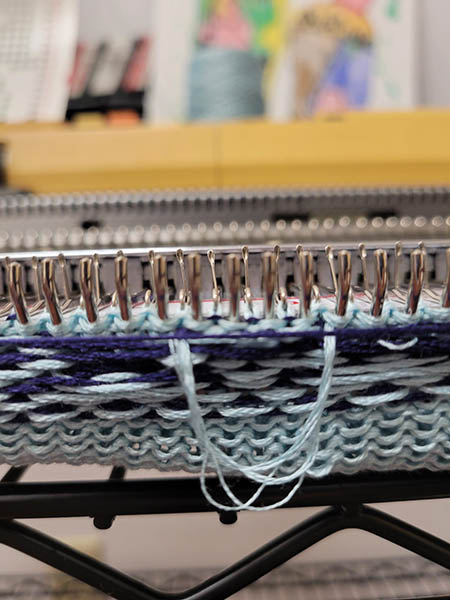
Yarn setup
Follow the guide below to set up yoru main yarn (on the right) and your contrast yarn (on the left).
Carriage setup for casting on
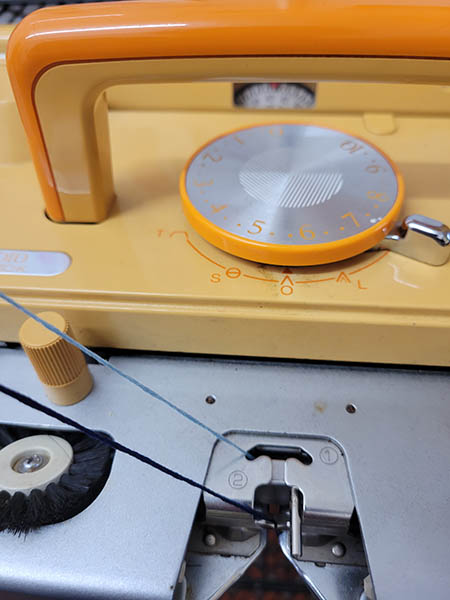
Set the cam lever (silver lever around the central stitch dial) to the inverted V, which is at the bottom of the dial as in this picture:

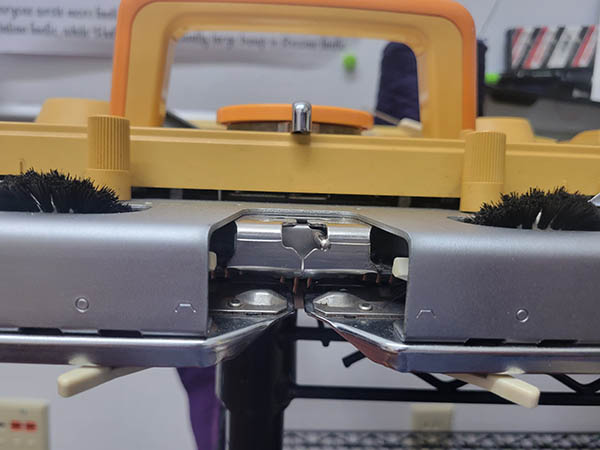
Set the side lever on the carriage to the circle as in this picture:
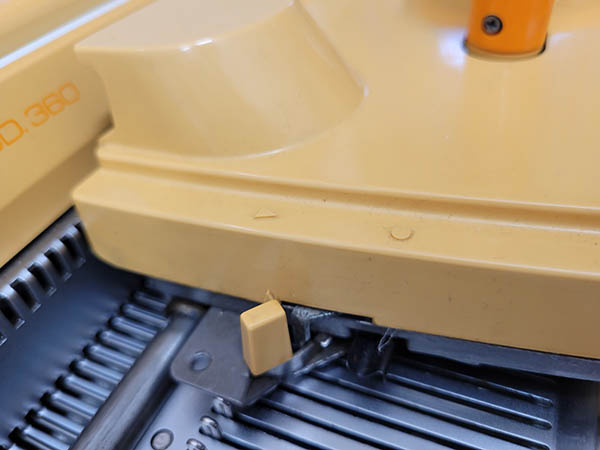
Set the russel levers (left and right) on the front of the carriage to II:

Set the weaving nob (left and right) to the swirly icon; you have to push it forward from O to get it to move:

Set the tuck knobs (left and right) to O:
Casting on
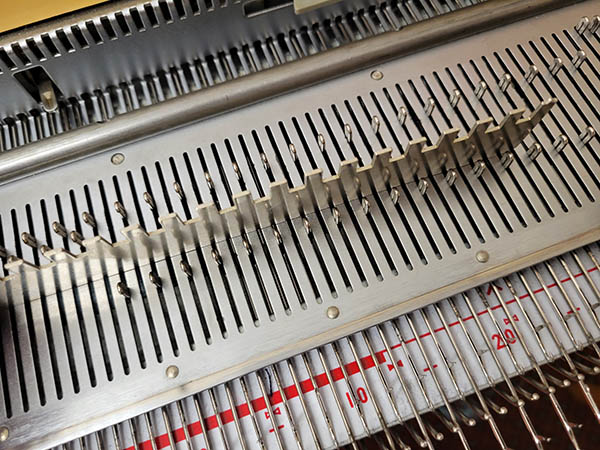
To cast on, push 35 needles on each side of the center 0 mark to D position (at the bottom; check the side of the needle bed for letter marks).
Make sure the carriage has the settings described above, then slowly move it across all the needles. The needles will be aligned in the B position after the carriage passes them.
Use the needle pusher to push every second needle from the B position to the D position.
Open the yarn feeder latch and insert the main yarn all the way, then close the latch again. Hold onto the bottom of the yarn.
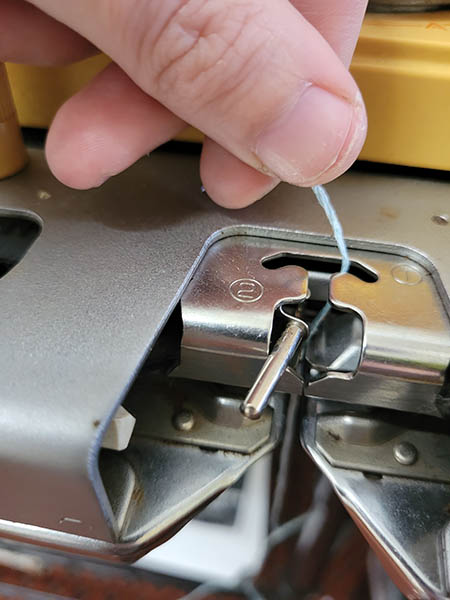
Still holding onto the bottom of the yarn, stretch the yarn from the carriage across the needles in the B position. With your other hand, slowly move the carriage over the needles until you have passed them all.
Knit three more rows with these settings, moving the carriage over all the needles three more times.
Carriage settings for stockinette
After you've cast on, you need to update the carriage settings for stockinette stitch.
Set the side levers to the triangle:
Set the weaving knobs to O:
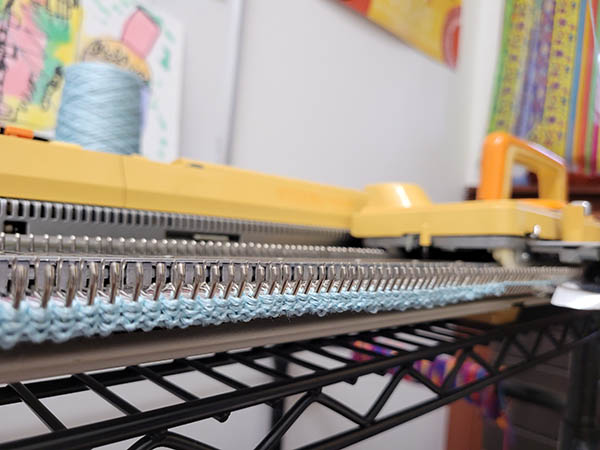
Knit 10 rows of stockinette stitch before switching to pattern knitting, or you can simply continue with stockinette stitch.
Knitting a pattern
Follow the setup steps above before getting started. Be sure you've cast on and have knitted several rows of stockinette stitch.
Make sure the carriage is on the left side of the needle bed before you start.
Inserting the punch card
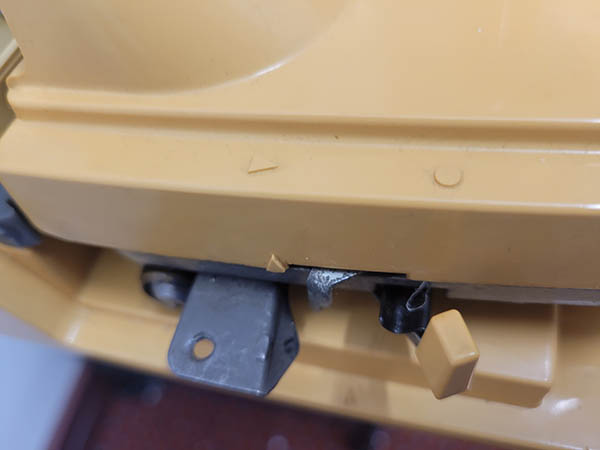
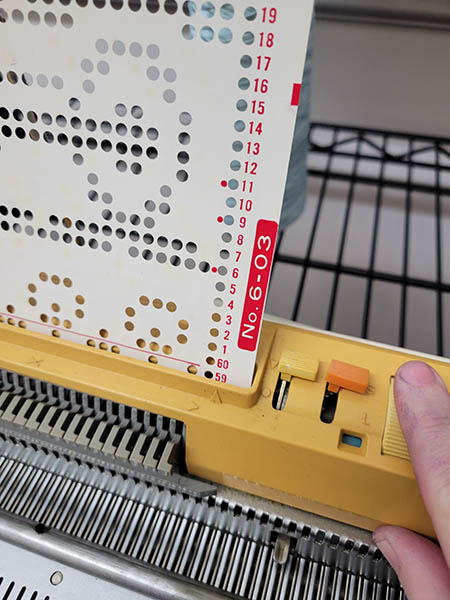
Make sure the stop knob is set to triangle, and the L knob is set to "S" (as in the image below). Take a punch card and push it lightly into the punch card slot, then use the wheel to move it down until the number 1 (if using a numbered punch card) is visible right above the punch card slot.
Pattern knitting setup
Start off with the carriage on the left side of the needle bed. All the carriage settings should be the same as stockinette stitch for the first row:
- Cam lever set to inverted V (at the bottom)
- Side levers to triangle
- Russel levers set to II
- Weaving knob set to O
The punch card switches should have these settings:
- Stop knob set to O
- L knob set to "S"
Knit one row, moving the carriage from left to right.
Threading the second yarn
Make sure the carriage is on the right side of the needle bed, after having knit one row from left to right with the punch card in place.
Set up the second yarn like the first, but on the left side of the tension rod. Thread it through the carriage, just to the left of the latch for the primary yarn:
Setting changes for pattern knitting
Change the cam lever to F, and the stop knob (next to the punch card) to triangle. All other settings should stay the same.
Knitting the pattern
After making these setting changes, you can move the carriage back and forth across the needles until you've knit the entire pattern. If you want the pattern to repeat, you can use the plastic snaps to connect the punch card to itself to form a circle.
As you knit, you may have rows with a loose stitch or two, like this:
Try to pull these loose stitches down and out of the way as much as you can, and go extra slowly and carefully with the carriage over those stitches.